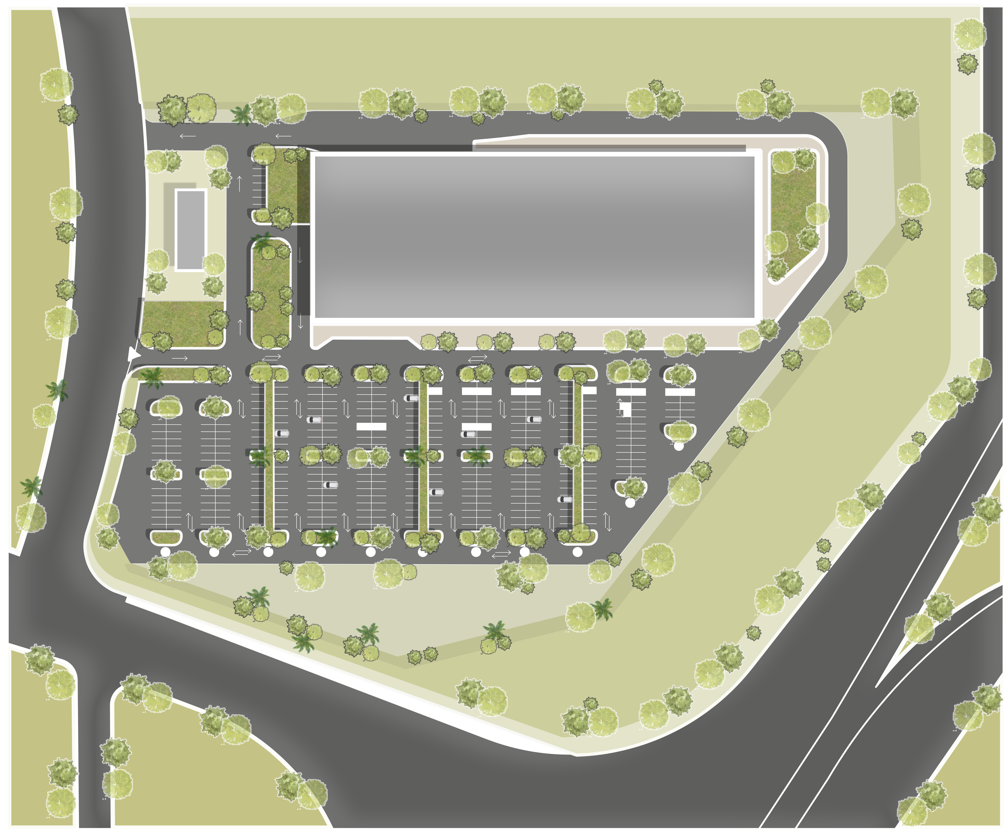
Creating Architectural Site Plans with Photoshop: A Comprehensive Guide:
Creating site plans in architecture is an art that goes beyond showcasing a building’s design; it’s about revealing its relationship with the surrounding environment. While various software can create site plans, not all are equally effective. Here, we’ll explore how to create a compelling architectural site plan using Photoshop, ensuring your project is not just visually appealing but also effectively communicates its context and design intent.
Key Steps to Create Architectural Site Plans in Photoshop:
- Importing the Base Plan: Start by importing the base plan into Photoshop. This can be a CAD drawing or a scanned image of a hand-drawn plan.
- Organizing with Layers: Use layers to organize your work. Create separate layers for different elements such as buildings, roads, vegetation, and annotations.
- Outlining Structures: Use the Pen Tool to trace the outlines of buildings and other structures. Ensure accuracy by zooming in when necessary.
- Adding Texture and Color: Differentiate between different elements by adding texture and color. Use the Brush Tool to add vegetation and other natural features.
- Including Annotations: Provide context by including annotations such as scale, north arrow, and key landmarks.
- Enhancing Realism with Layer Styles: Use the Layer Style options in Photoshop to add shadows and highlights, enhancing the realism of your site plan.
- Finalizing and Saving: Once you’re satisfied with your site plan, save it in a high-resolution format suitable for printing or digital presentation.
By following these steps and utilizing Photoshop’s powerful features, you can create stunning architectural site plans that effectively communicate your design vision and context. Remember, the key to a successful site plan lies in its clarity, accuracy, and ability to convey the relationship between the built environment and its surroundings.
